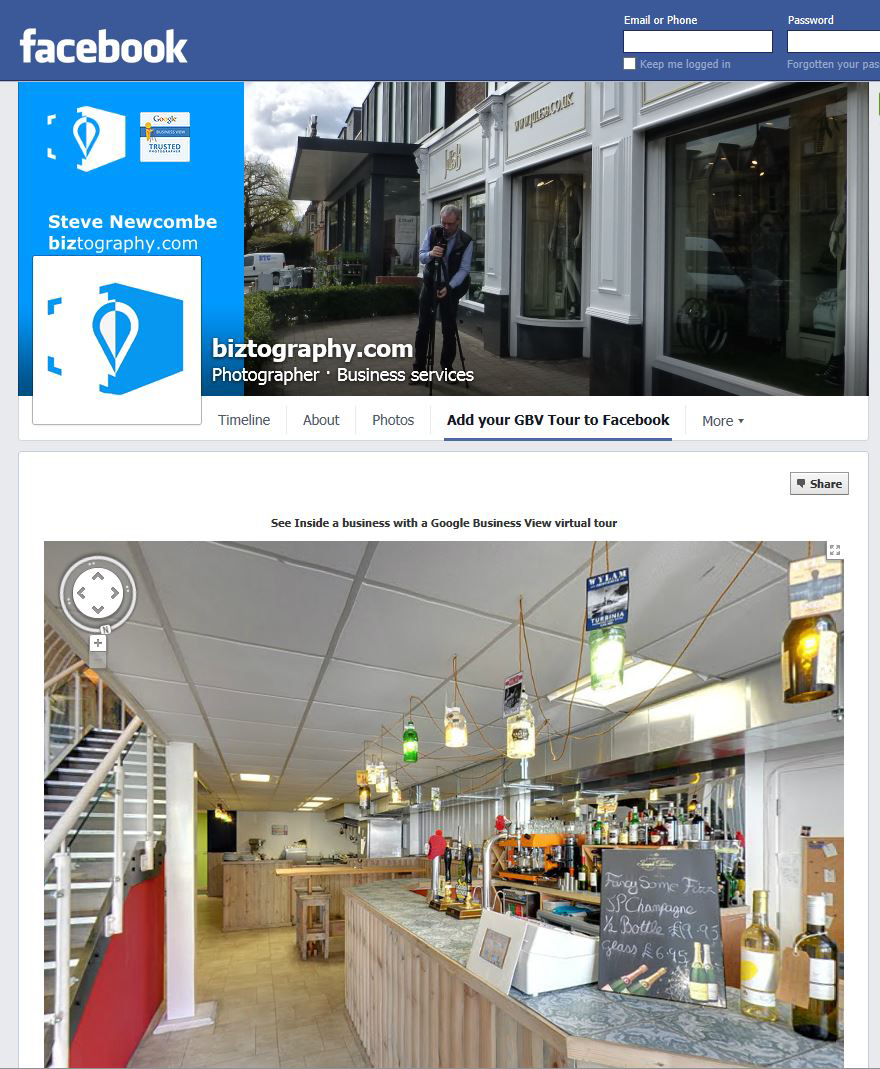
 If your customers are on Facebook then you’ll want to show off your Google Business View on your Facebook page.
You could just add a tour link in your time line, on the other hand you could give it its own spot on Facebook with a custom tab!
It’s a little fiddly but not too hard. Want to give it a go? Here’s how.
Process Overview: install Woobox custom tab; add your google maps tour link; customise tab to suit; go live. Instructions as at September 2014.
Install Woobox app custom tab:
With Facebook you’ll need to install a free application called Woobox if you don’t have it already. To do this you need to have admin rights and log into your facebook page. Search for woobox in the search box. You’ll see the details for woobox app- choose the woobox “custom tab” (yellow searchlights). You should see an Install page tab button – click this.
Next you need to go to Google maps and get some iframe code for your tour and paste that into the Woobox HTML box.
Get the iframe code for your tour from Google Maps
Open a second browser window and go to maps.google.co.uk
Click the ?icon in the bottom right to switch to Classic Google Maps.
Search for your business. It should appear in a list on the left hand side.
Click the Look Inside image below your listing. The map view will change to your tour view.
Use the arrows to move around the tour and choose a view you like.
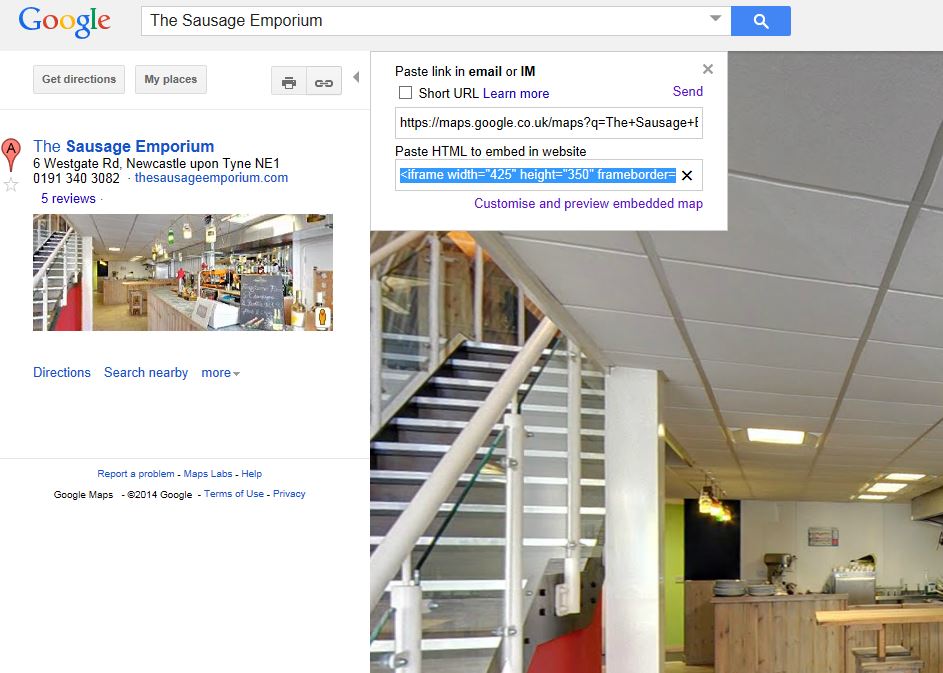
Click the chain link icon, top left.
Copy the link that appears in the box under “paste HTML to embed in a web site”
This link is very very long , but grab it all initially. Click the image below to enlarge.
Back to Facebook/woobox
Go back to Facebook in your first browser window paste the link into the Woobox HTML box. Save settings and “view Facebook Tab” Top left to check that the tour appears.
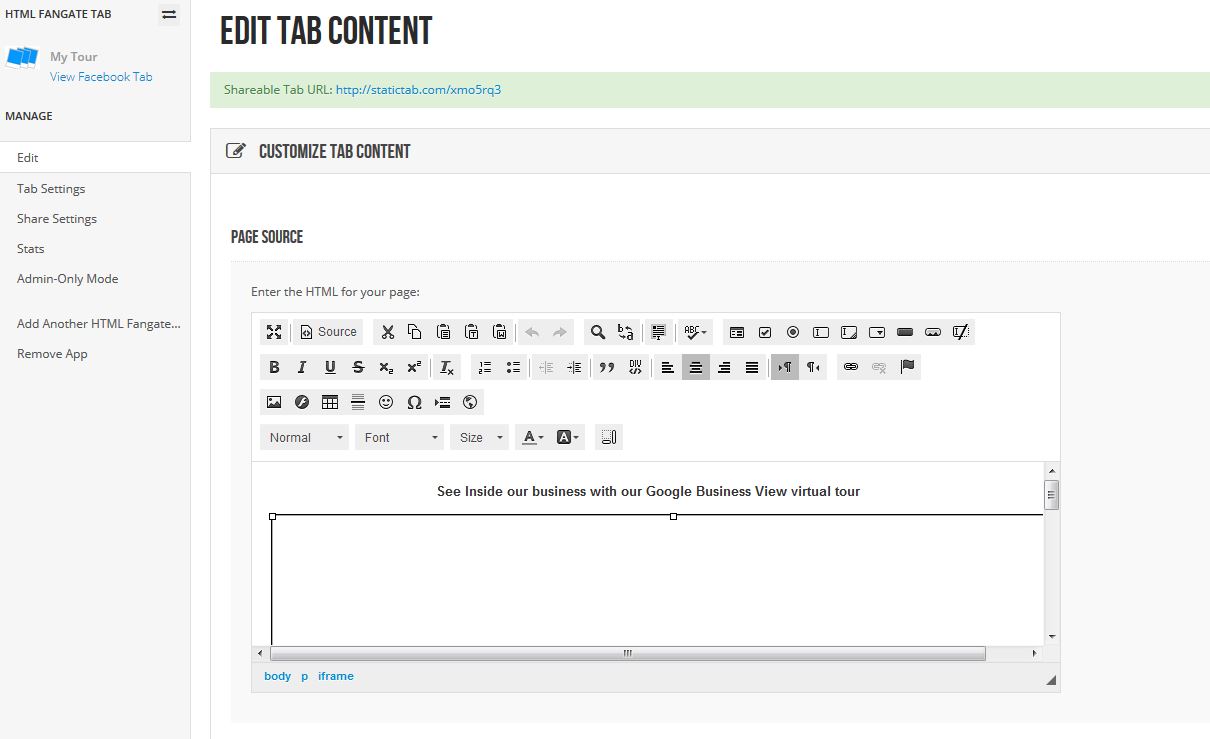
Customise your tab content
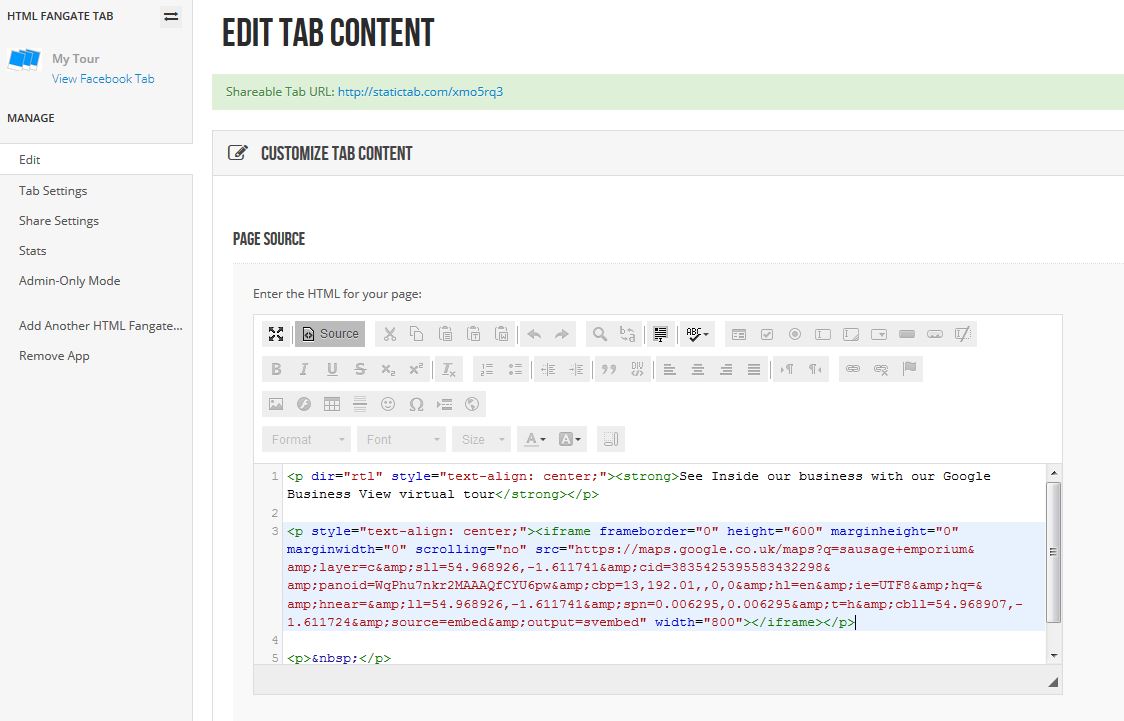
Clicking the source button in the woobox html editor toggles your content between the code view and visual view.
In code view adjust the iframe pixel width and height settings to suit your Facebook page. 800 Width and 600 Height is a good starting point. Click the image below to enlarge.
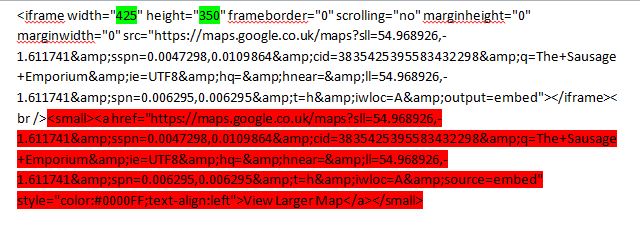
You don’t need the larger map link which appears below the tour so delete the section of code which produces it. We’ve highlighted the bit in red that you don’t need – that’s everything from, and including, <small> to <\small> Save settings. Click the image below to enlarge.
Add a title or description
In visual view add a title. You can change the alignment of the tour and title here. Centering usually looks better. Save settings. Click the image below to enlarge.
Customise your tab
Go to tab settings to change the tab image and name. Save settings.
Publish
Click admin only mode to toggle between on unpublish / off publish. Save settings
As always there is more than one way to do this. This method uses Woobox and the simple iframe method but if you are used to coding and are happy using APIs – there is an alternative method using Google Maps APIs available at https://developers.google.com/maps/ and there are alternatives to Woobox too.

